We’ve all heard that there can be great health benefits to eating yogurt, but what makes yogurt so special? The main health benefits of yogurt are due to the fermentation process involved in making it (for more about fermentation, see Real Food Profile: Fermentation—Nature’s Preservative). But not all yogurt is created equal.
No, we’re not talking about the added sugar or protein content that can be found in many commercial yogurt products (although that is definitely something to watch out for—you won’t get healthier by eating added sugars). We’re talking about the live active cultures that we’ve heard so much about.
Live active cultures are the living bacteria that convert milk into yogurt during fermentation. To make yogurt, something called a starter is introduced into the milk to get the fermentation process going. This “starter” includes bacteria that consume the lactose sugar in the milk, transforming that sugar into lactic acid. As this process continues, the milk gradually becomes more acidic and begins thickening into yogurt.
Since yogurt’s ability to enhance the gut microbiome is directly dependent on the bacteria in the yogurt being alive and functional, you would naturally expect that the yogurt you’re eating contains those live active cultures, but in fact not all dairy yogurt contains live active cultures.
Wait! What?
Here’s the story: It’s generally the case that the milk yogurt is made from is pasteurized (heat-treated) to kill microorganisms that would otherwise cause it to spoil. But in order to avoid having to refrigerate the product afterwards at every step of the process of storing it and transporting it to the store, some brands also pasteurize the yogurt itself, which kills all beneficial bacteria.
The FDA only considers a food as “yogurt” when certain things are present and posted on its label. And while the FDA specifies that the culture used to make the yogurt must contain the lactic acid-producing bacteria Lactobacillus bulgaricus and Streptococcus thermophilus (1), it does NOT specify that those cultures must still be alive at the point that the yogurt is delivered to the grocery store.
So how can we be sure that the yogurt in our bowl is, well, alive? The easiest way is to look for the Live & Active Cultures (LAC) seal.

Display of this seal is voluntary, so it’s quite possible that a yogurt which has live and active cultures does not have the seal. Normally, however, the manufacturer would state somewhere on the label that the yogurt “contains live and active cultures”, and the FDA requires that when that statement is made the yogurt must have contained a specified amount of live bacteria at the time of manufacture. The FDA further requires that if the dairy ingredients have been treated in a way that kills the bacteria, the manufacturer tell the consumer that the yogurt “does not contain live and active cultures.” But when that’s the case then it’s also a safe bet that the print size of that statement will not necessarily be reader friendly.
Homemade Yogurt

Ingredients
- Yogurt Starter (use amount on packet) OR 2 Tablespoons plain, unsweetened yogurt with Live active Cultures
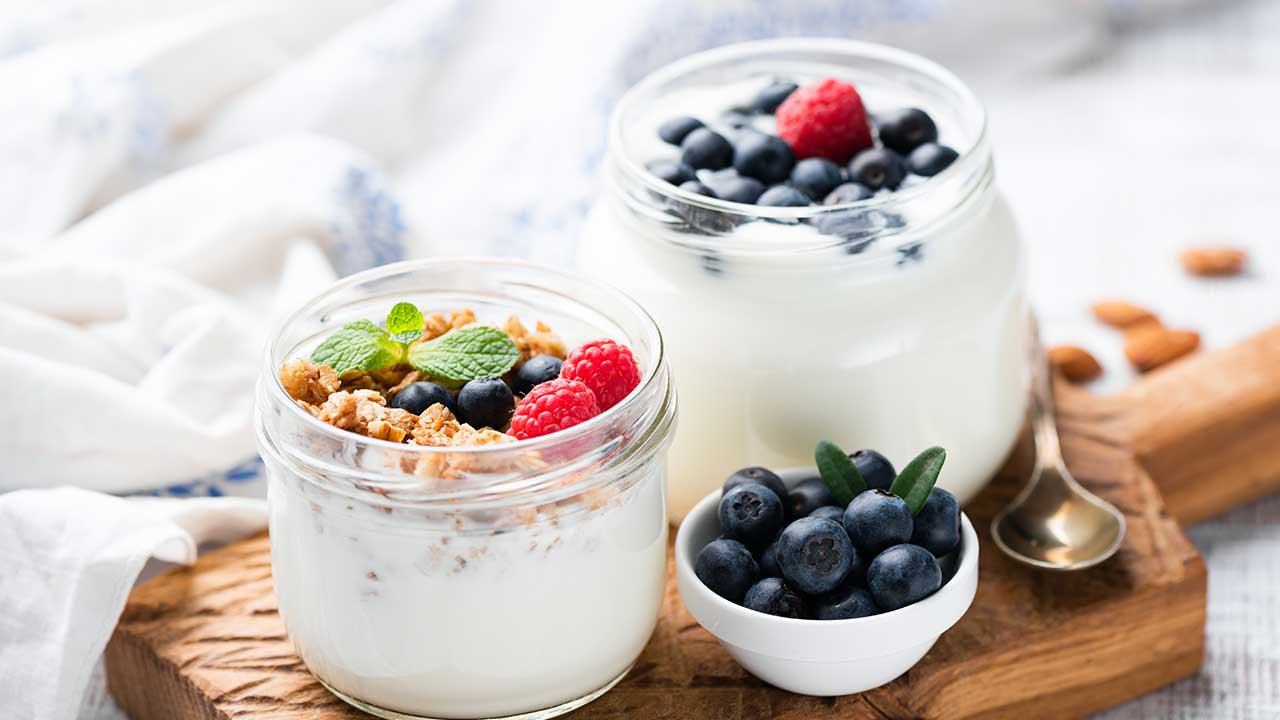
- Toppings- Local Honey, Maple Syrup, crushed nuts, fresh or dried fruit
- Food thermometer
Instructions
- In a medium sized pot, put 4 cups milk (I used raw milk from a friend’s farm, but I am spoiled…you can use regular store-bought milk, organic milk, goat’s milk, or sheep’s milk).
- Heat the milk on the stove to for five minutes.
- Let cool to about 112-115°. Add the amount of starter according to the packet. Alternatively, you can just use 2 tablespoons of plain organic yogurt. We used full fat. It just must contain Live Active Cultures! Put a ladle of the warmed milk in a cup or a bowl with the starter yogurt to bring it up to temperature. Add this back into the pot with the rest of the warm milk and gently mix it all together.
- At this point, there are a variety of methods you can follow to make your yogurt. Check out the many possibilities online but here are some of the basic options.
- Place your warm milk & starter mixer into a yogurt maker. Follow the manufacturer’s instructions and wait.
- Bread Machine Method: Some bread machines have a yogurt setting. This is the method we used for the recipe above and it usually takes less than 12 hours and works great!
- Oven Method: This basically involves setting the oven to 200° and then turning off the heat but leaving the light on, letting the yogurt ferment in the ambient heat. Some people do this right in the same heavy bottomed pot with a tight lid or by pouring the warm milk and starter mixture into clean mason jars with lids and placing them in a warm oven.
- Insta-pot Method: There is a setting right on the machine for yogurt!
- After fermentation has reached the desired point, refrigerate the yogurt. Enjoy it topped with fresh or dried fruits, nuts and a drizzle of honey or maple syrup if you like!